Guide to ePortfolios
Creative Industry students and students of certain courses at the College will have an ePortfolio that can be used to keep a diary of your activities or upload photos of your practical work.
We have created this guide to help you manage and update your ePortfolio if you have one.

Quick Links
About WordPress
Our ePortfolios run on WordPress. WordPress is a content management system which is easy to use and fast. WordPress allows you to create your own web pages and blog entries. It is possible to upload documents, sound, video and pictures to your ePortfolio. You can choose to share your posts with everyone, your lecturer or keep them personal to yourself. You have a few themes to choose from which are designed to allow you to customise your portfolio. If you are unsure of the meaning of some terms in this, guide, please see the glossary.

Where is my ePortfolio?
If you have one, your ePortfolio can be found by going to www.dgmyspace.dumgal.ac.uk/eportfolio/<<YOUR STUDENT ID>> (replace <<YOUR STUDENT ID>> with your seven digit Student ID Number, for example if your student ID was 1234567 your url would be www.dgmyspace.dumgal.ac.uk/eportfolio/1234567.
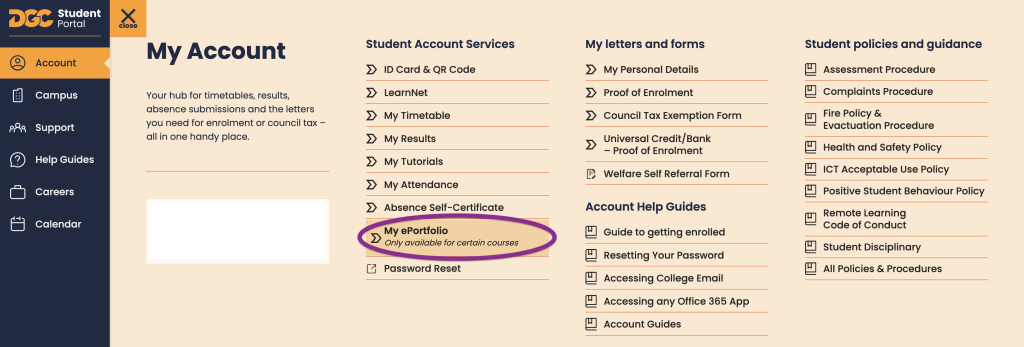
An easy way to find this link is to login to your account on the student portal and go to the My ePortfolio page under the Account Menu. This will show you a link at the top of the page (circled in the second image) which when clicked will automatically redirect you to your ePortfolio. If you do not see this and believe you should have an ePortfolio contact your Course Tutor.

Logging in to your ePortfolio
There are two ways of logging into your portfolio. The first is to type /wp-admin on to the end of your ePortfolio url e.g. www.dgmyspace.dumgal.ac.uk/eportfolio/1234567/wp-admin . If you are logged into your student office 365 account this will automatically log you in. If you aren’t logged in the site will prompt you to login to your office 365 account you can check our guide on how to login here.
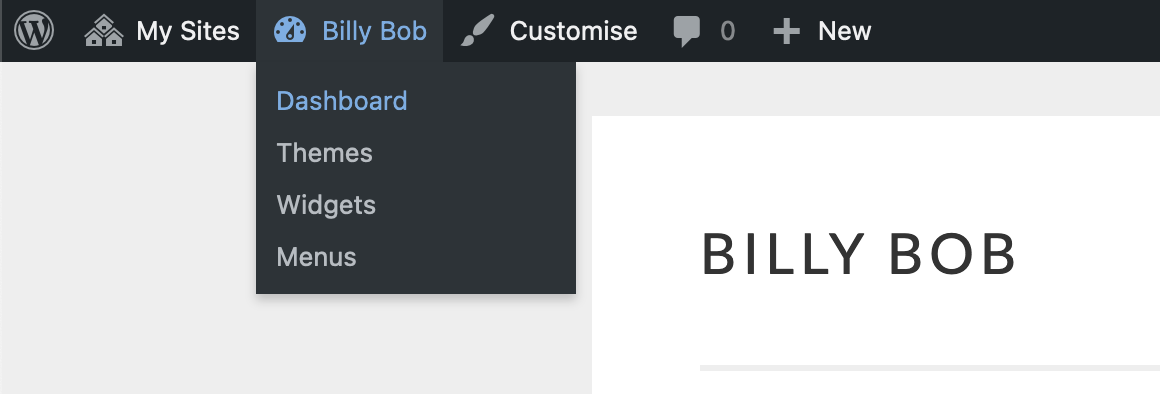
Another way to login is to login to your account on the student portal and go to the My ePortfolio page and then click the link at the top of this page. This will automatically log you in to your ePortfolio and you can hover over the site title and click “Dashboard” to see the admin area.
Editing Your Profile
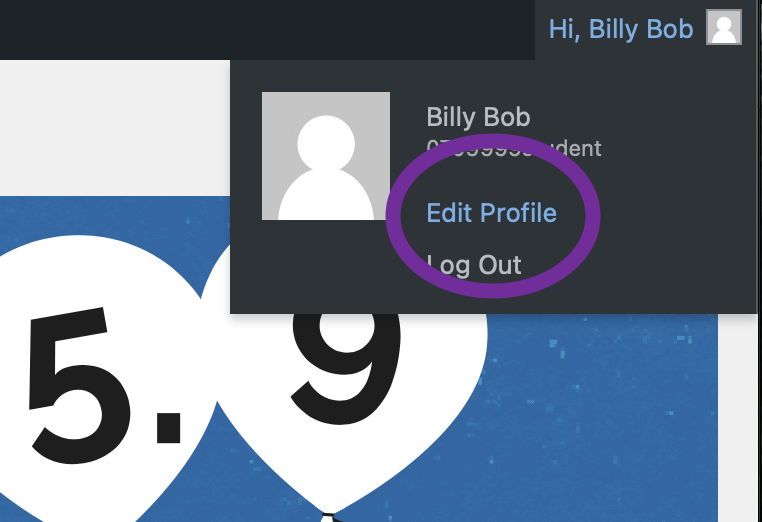
First things first: you probably want to update your profile? The easiest way to do this is to hover over your name on the far right of the top bar and click the edit my profile link at the top right of the page. You will be presented with your profile and personal options. On Mobile tap the empty avatar picture to reveal the menu and tap on “Edit Profile”.
Editor Options
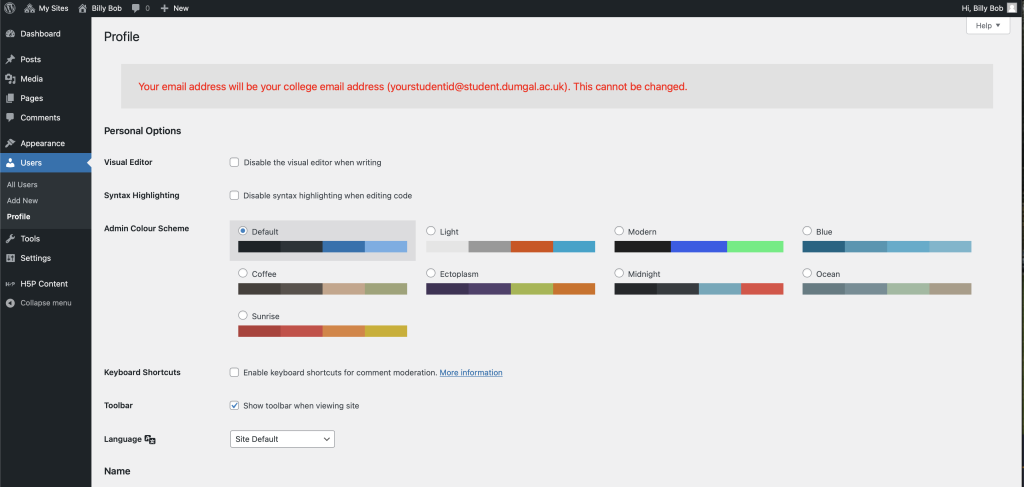
The options are mostly for entering information about yourself, changing editor options and your colour schemes.
Email Notifications
All email notifications will be sent to your college email address which will be your student ID number followed by @student.dumgal.ac.uk , for example 1234567@student.dumgal.ac.uk . This cannot be changed. You can check our guide on how to access your college emails within our help guides.
Changing your avatar
WordPress uses Gravatar for your avatar. The avatar that is displayed is called a Gravatar. A Gravatar is a Globally Recognized Avatar. To create a Gravatar, simply go to gravatar.com and sign up. To use your Gravatar within WordPress, simply use the same email address in your Profile that you’ve configured within the Gravatar site and it will automatically display.
Changing your Theme and Customising it
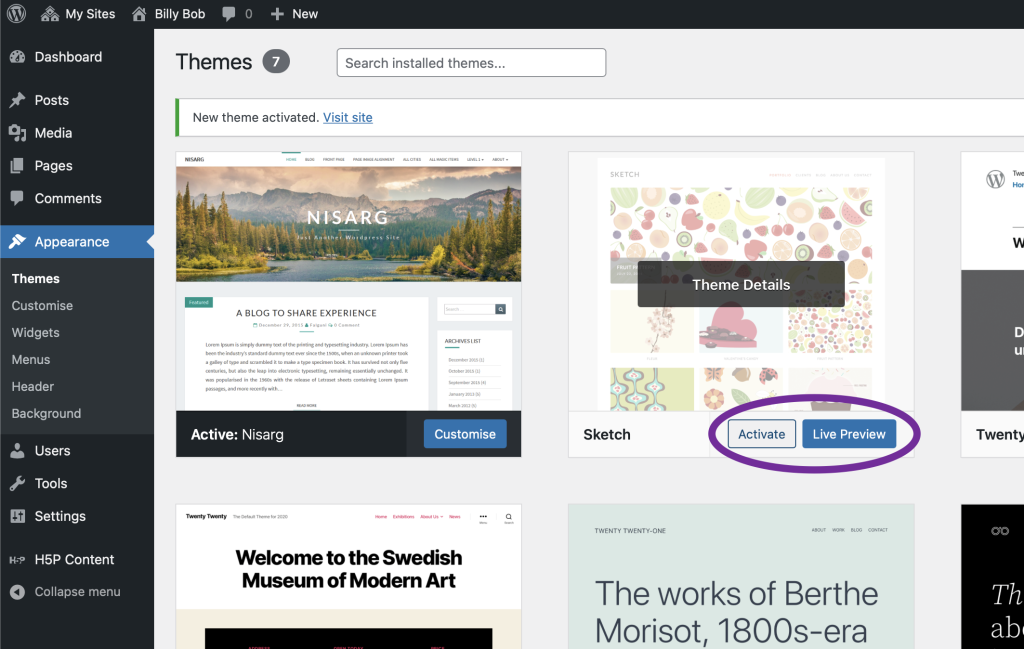
We have installed a number of themes for you to choose from including the newer full site block editing theme by WordPress. To preview and change your theme go to “Appearance” then “Themes“. Hover over your desired theme and click either “Activate” to select it or “Live Preview” to preview it.
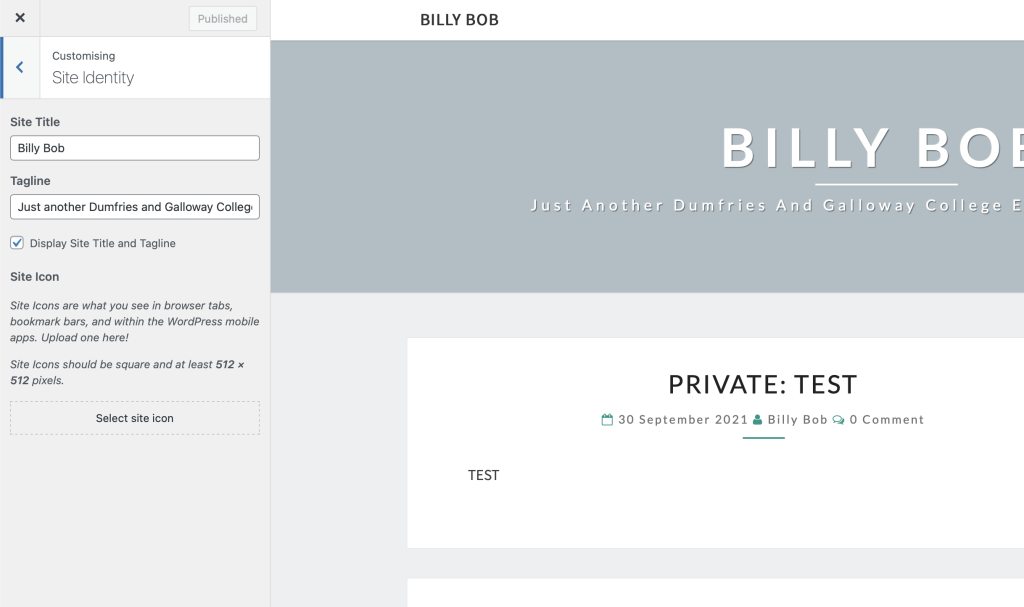
Some themes will have options to customise it. You can find these options under “Appearance” then “Customise” when the theme has been activated. You’ll be able to change elements like the Site Title, Colours, Header Images depending on the theme layout and what options have been enabled.
Some of the newer themes e.g. Twenty-Twenty-Two may have full site editing enabled. This will allow you to edit every part of your theme through the new block editor. This is still very new and in “beta” so you may prefer to stick with the older style themes for now.
The Difference between Posts and Pages
There is an important difference between pages and posts (posts appear under the categories heading). Pages are filled with fixed information; a good example would be your Curriculum Vitae (CV from now on). Although your CV changes, the CV page is always present, and you edit it when you need to add something new. Posts on the other hand can be published at a given time. If you are familiar with blogging, posts are like blog entries. If you are not sure about blogging, blogs can best be described as diaries which display the latest entry first. They are a good way to build up evidence of your activities for an ePortfolio.

Making a New Page
Pages are the basic requirements for your ePortfolio and can easily be edited by clicking on “Pages” in the menu and then clicking on the title of the page you want to edit. You can easily add new pages when you need them. You can call the pages anything you like. To make a new page hover on the new link on your dashboard then click the page link or visit the pages area in the dashboard and click the Add New button. You will find there are a few ways of achieving things so just use whatever method suits you best.

Making a New Post
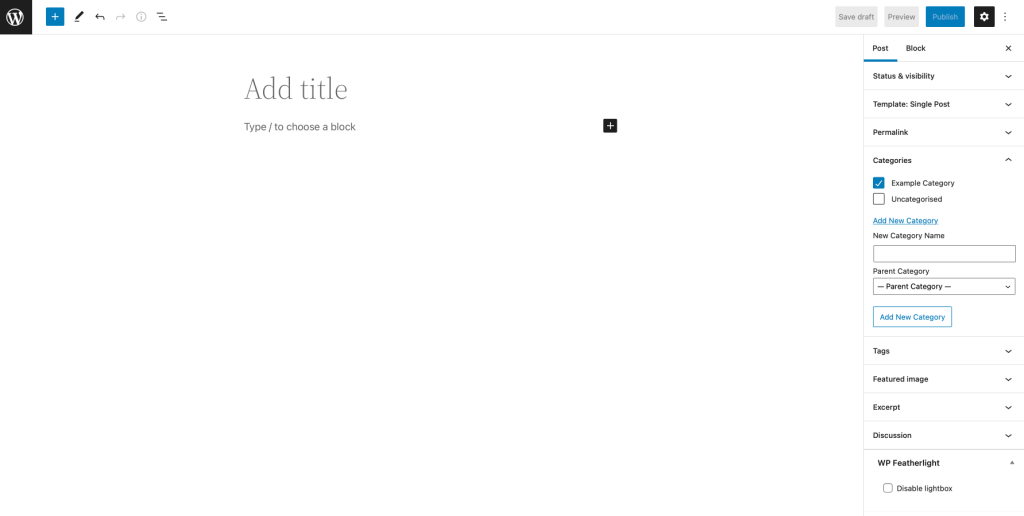
Making a new post is very similar to making a new page. When you create a post, you should try your best to choose a category for the post by clicking the checkbox next to that category. Some ePortfolio users may have some default categories, but you are free to add your own by clicking “+ Add New Category”
Publish Settings
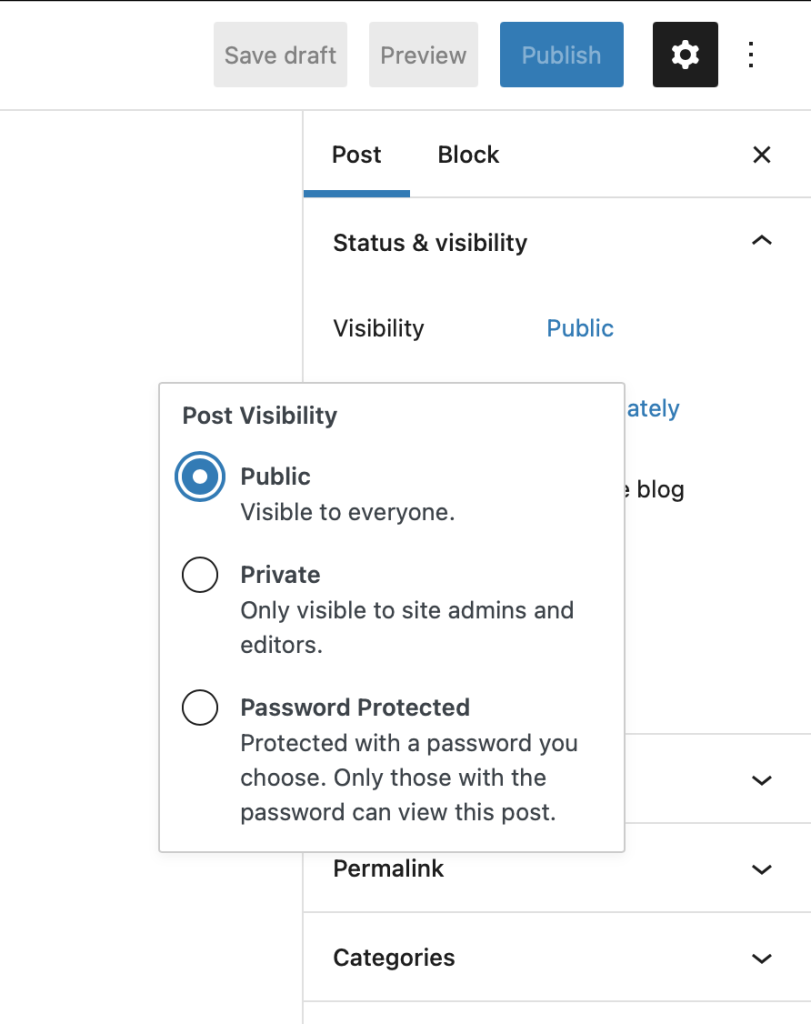
You can also alter the publish settings so you can save the post as a draft if you still need to do work on it before you are ready to publish, publish so it’s visible to everyone, private so it’s only visible to you or password protected where you can set a password that visitors have to submit in order to view the post.
Using the editor
You can find out more about the editors and how to use them here.
Supported Image File Types
Although WordPress will resize images when you upload them, you don’t want to be uploading huge files as they can be slow to upload and load if you are on a slow internet connection. You also want to make sure they are using the right file type for the web.
Notes about Files and Sizes
Supported Image File Types are as follows: .jpg (sometimes also appear as .jpeg), .gif, .png
For the most part you will want to save your file as a jpg. However, if you need transparency you might want to use a png file instead.
Size wise try to resize a copy of your photo or image down to no larger than 1200px by 1200px. It can also be worth running it through a compressor to optimise it for the web. If you are on a mobile there is a free app called “Image Size” that can help you with resizing.
Supported Video Files
The following video file types are supported:
- mp4, .m4v (MPEG-4)
- .mov (QuickTime)
- .wmv (Windows Media Video)
- .avi
- .mpg
- .ogv (Ogg)
- .3gp (3GPP)
- .3g2 (3GPP2)
We do encourage you to upload videos onto services like YouTube or Vimeo where possible. However, don’t use copyrighted music on these services as this could get you banned.
Adding Images in the Block Editor
There is more than one way to add an image in the new Block Editor so we will only show you the simplest method here.
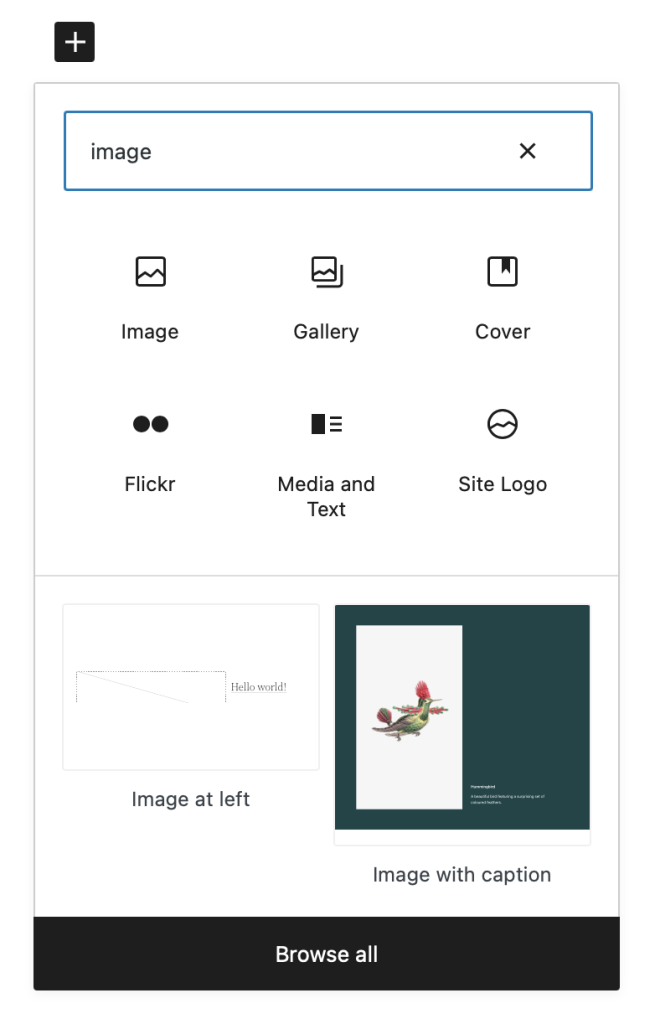
First click either the blue “+” button (top left) or the black “+” button in the editor (this should say “Add Block” when you hover over it.

When clicked this will show a range of the commonly used blocks including “Image”.
You can search for a block by typing a keyword in the search field. You can also Browse all Blocks to see all the options. Click on the “Image” block.
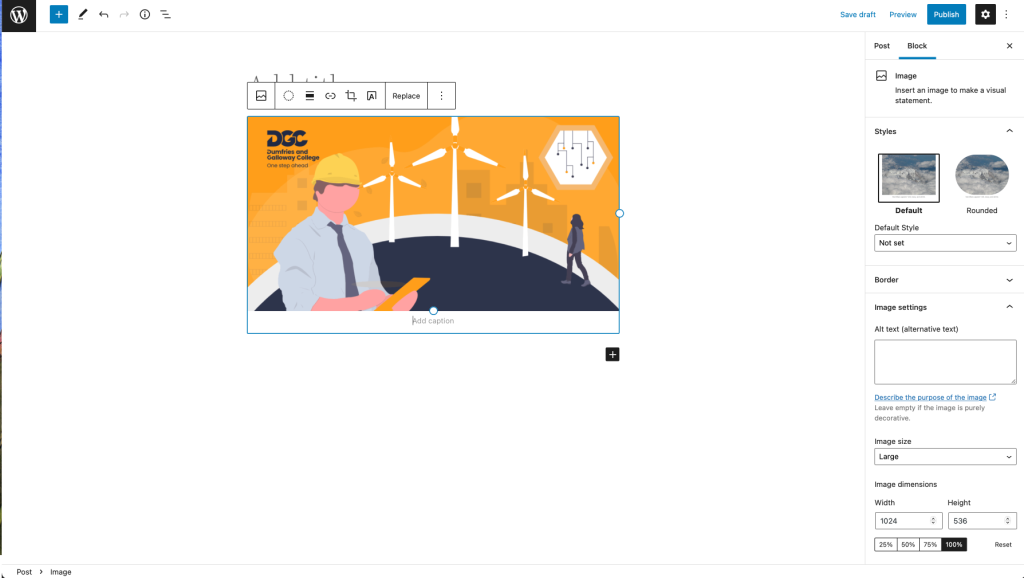
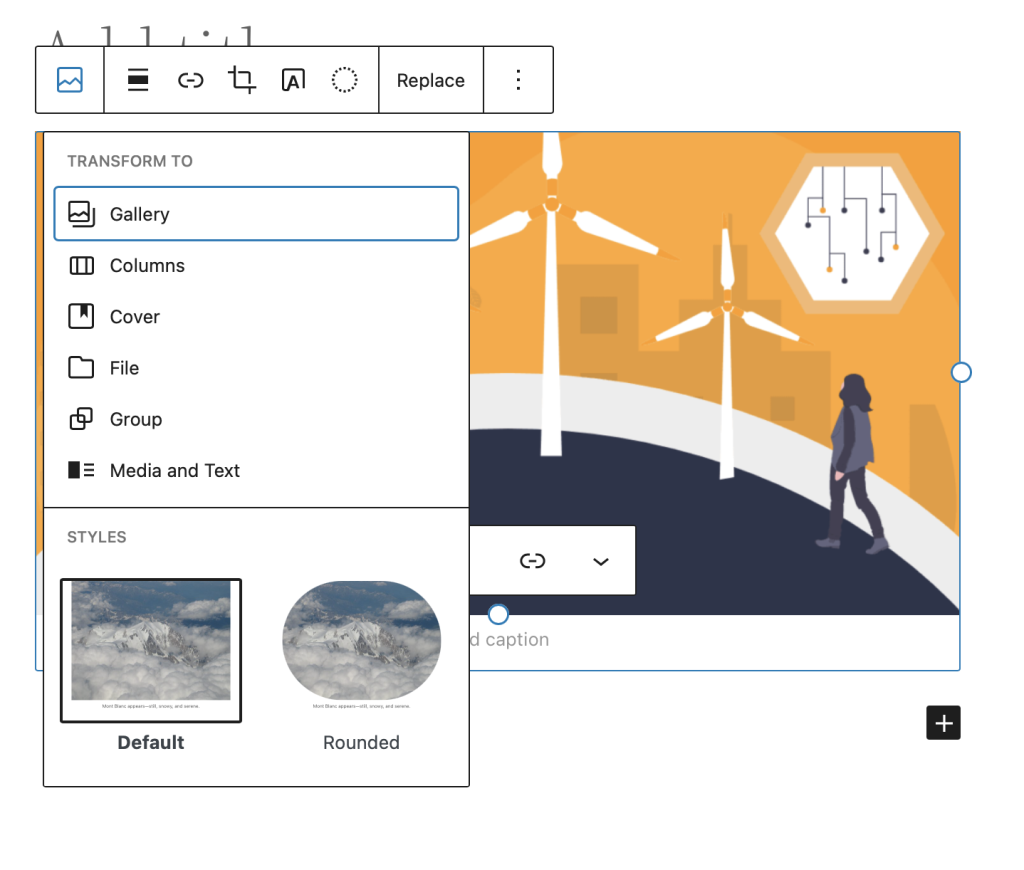
The Paragraph Block will now convert to an Image Block where you have the option to upload an image, choose from an existing image or insert from a URL. There are a number of options in the toolbar at the top of the image block. You can choose to transform it into a different kind of block.
Add a default style to the block (rounded or square).
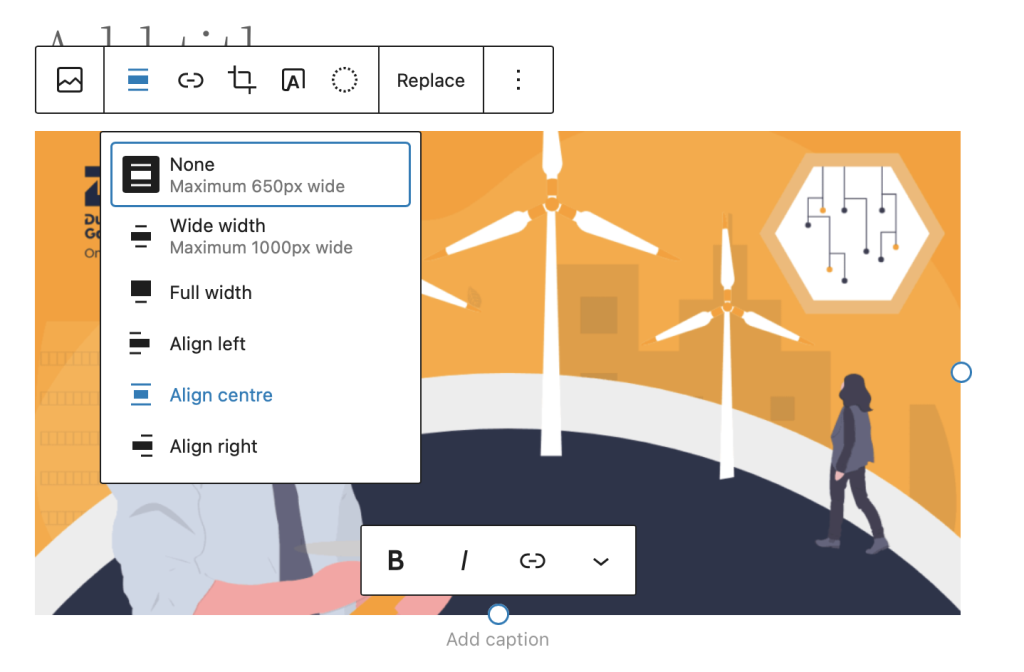
You can change the alignment of the image.
To change the image to a lightbox image you can link it to the media file by clicking the chain link icon.
You can also crop or replace the image.
To resize the image, you can drag the blue dots to the right and bottom of the image.
On the far-right sidebar, you will also see the options to add “Alt text” which is used by screen readers and change the image size.
Just below the image a field for adding a caption has been added along with some basic styling options including “bold”, “italic” and link. You can type directly into this field.

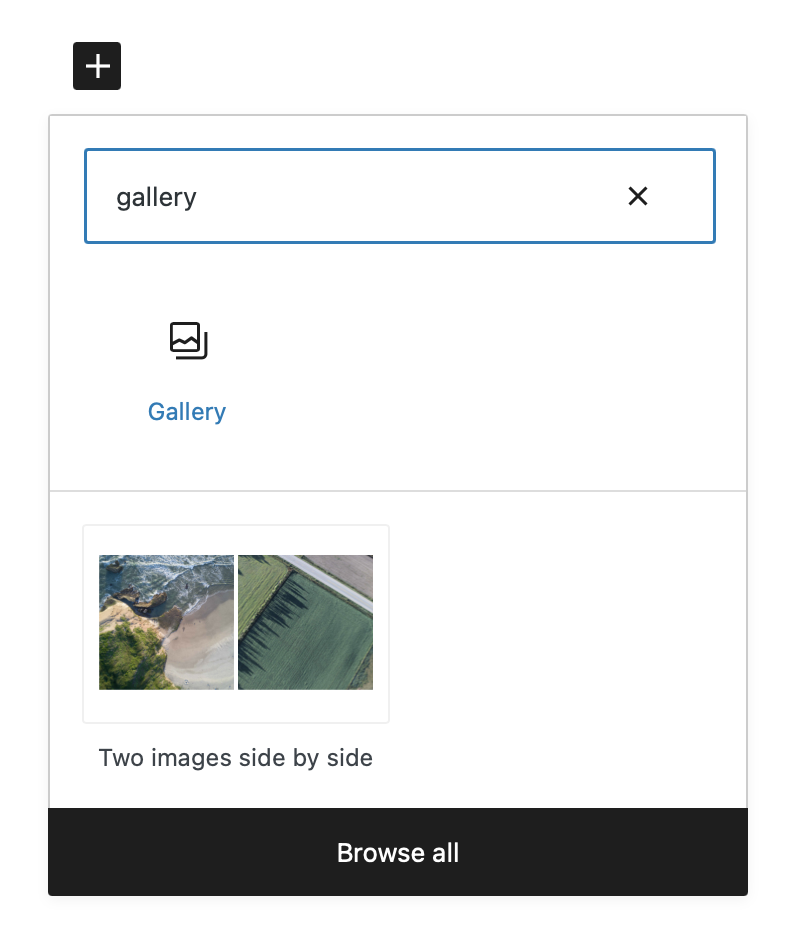
Adding a Gallery
Adding a gallery of images is very similar to how you add a single image. Instead of selecting the “Image” block however you should look for a select the “Gallery” block.
Like the image block you can upload or choose from existing images to add to your gallery.
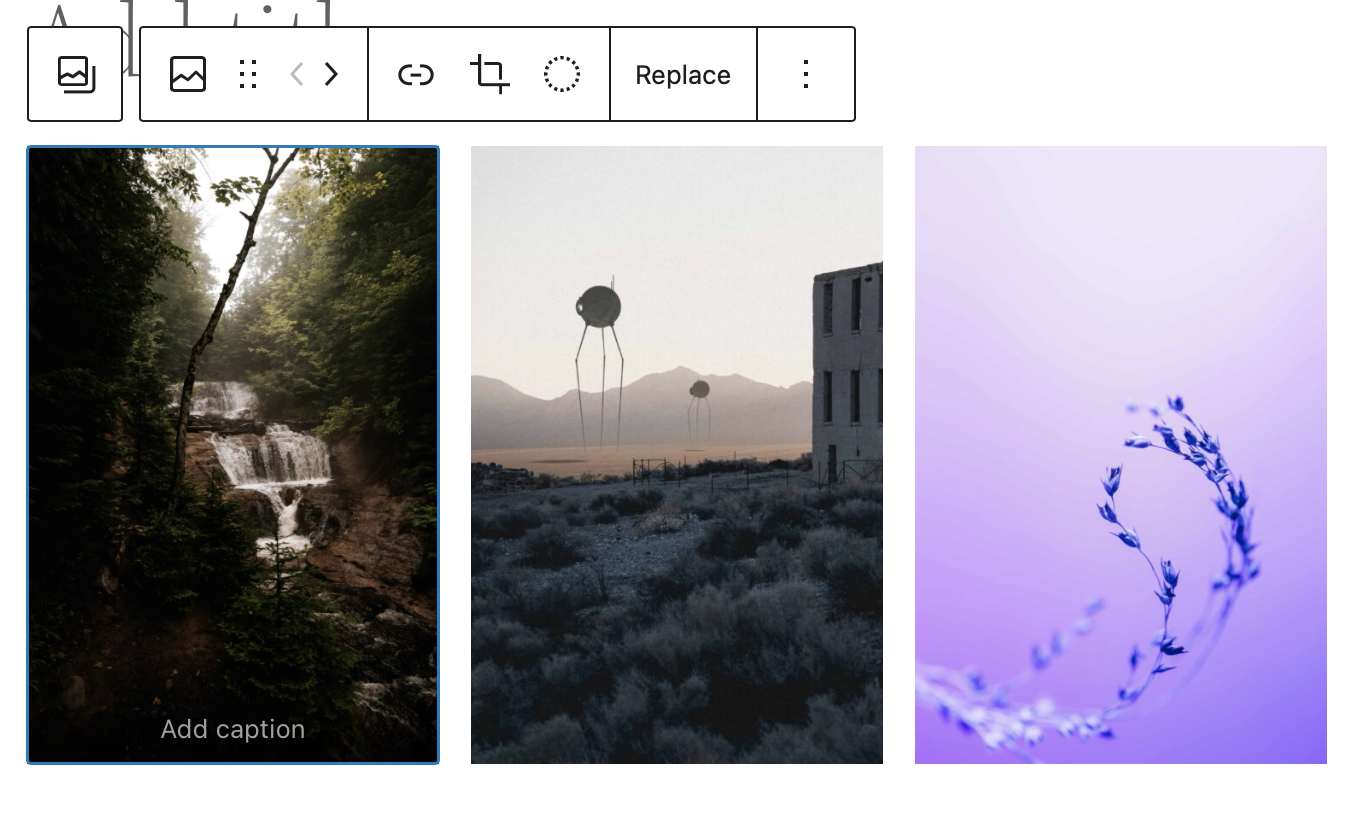
You can then enter in captions and drag the image blocks within the gallery into your desired order. Each image block within a gallery block has the same options available as a single image block.
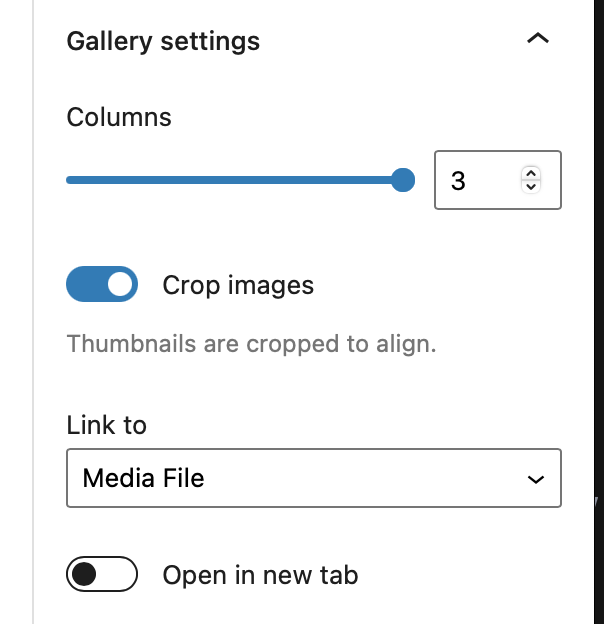
Once added you will find you can edit captions directly on the images as well as edit the gallery options in the block options in the sidebar to the right. This allows you to change the number of columns, allow thumbnail cropping and link them to the “Media File” (this means they will open in the lightbox.)
Adding a Video
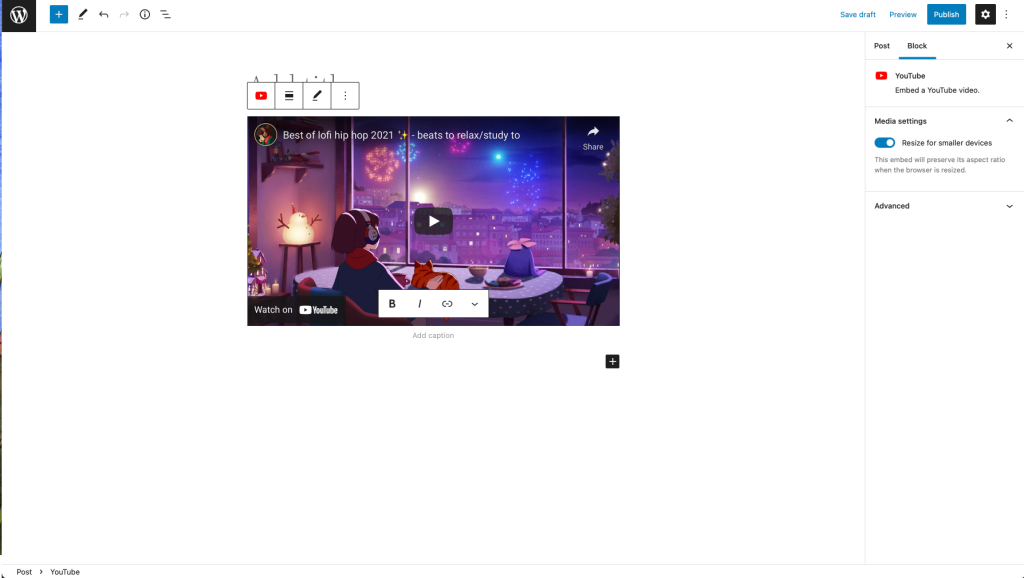
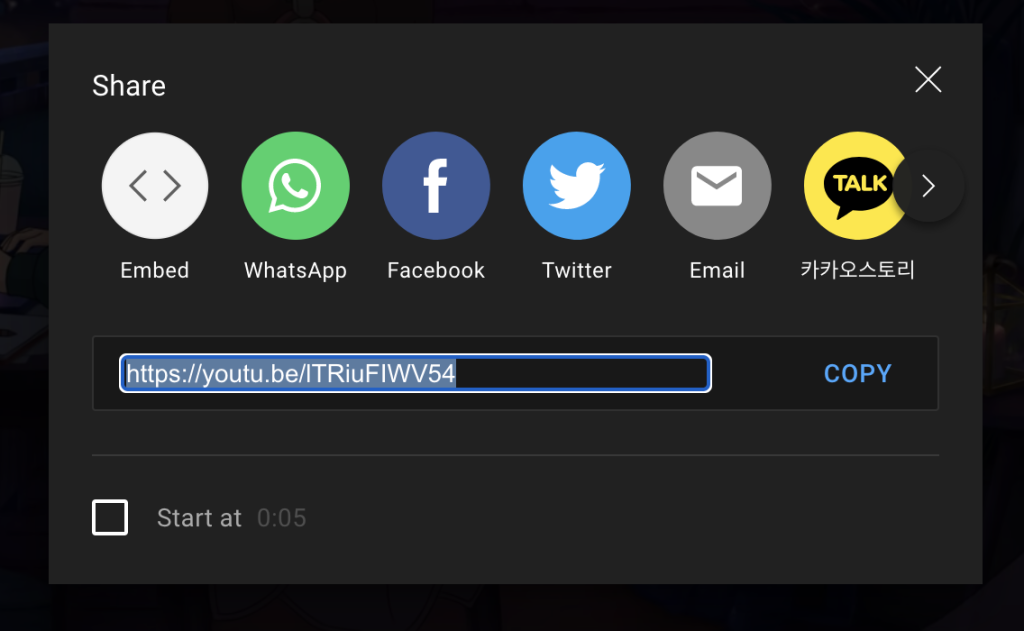
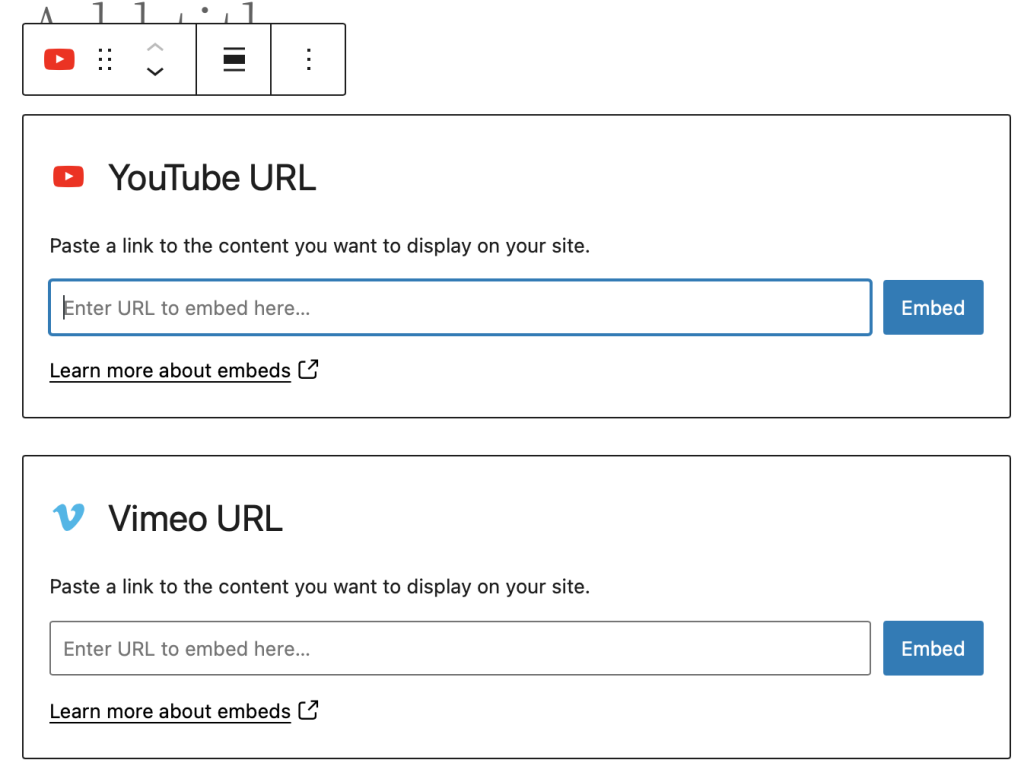
To add a video from YouTube or Vimeo click “Add Block” and search for “Video” this will show you a number of options. Click “YouTube”. Paste your YouTube URL that you got from the Share button on your YouTube video and click “Embed”
The embedded video will now appear in your editor along with an option to add a caption.
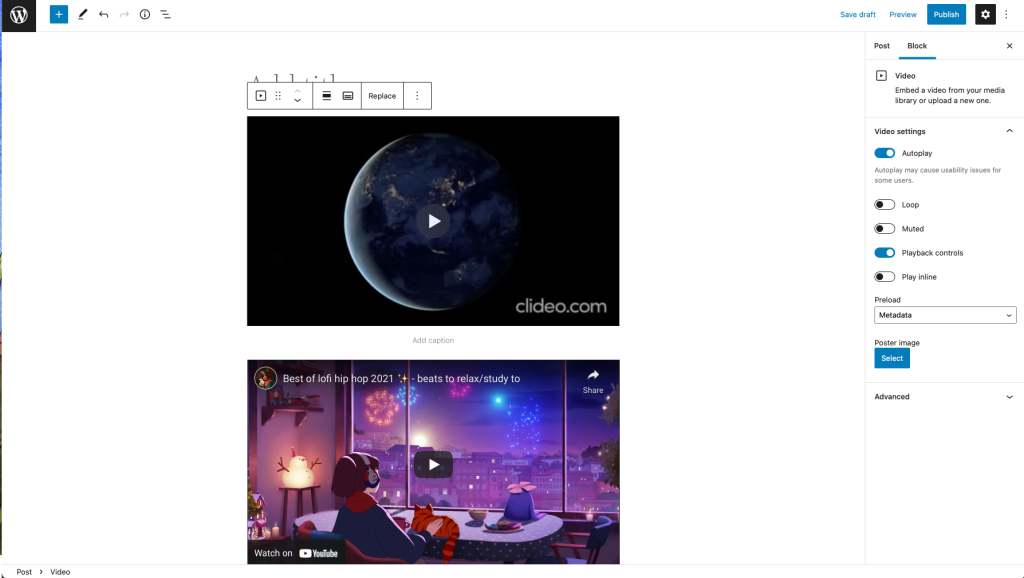
To upload your own video to your ePortfolio you should choose the Video Block. Once uploaded you will also have a number of control settings to choose from in the block settings sidebar to the right.
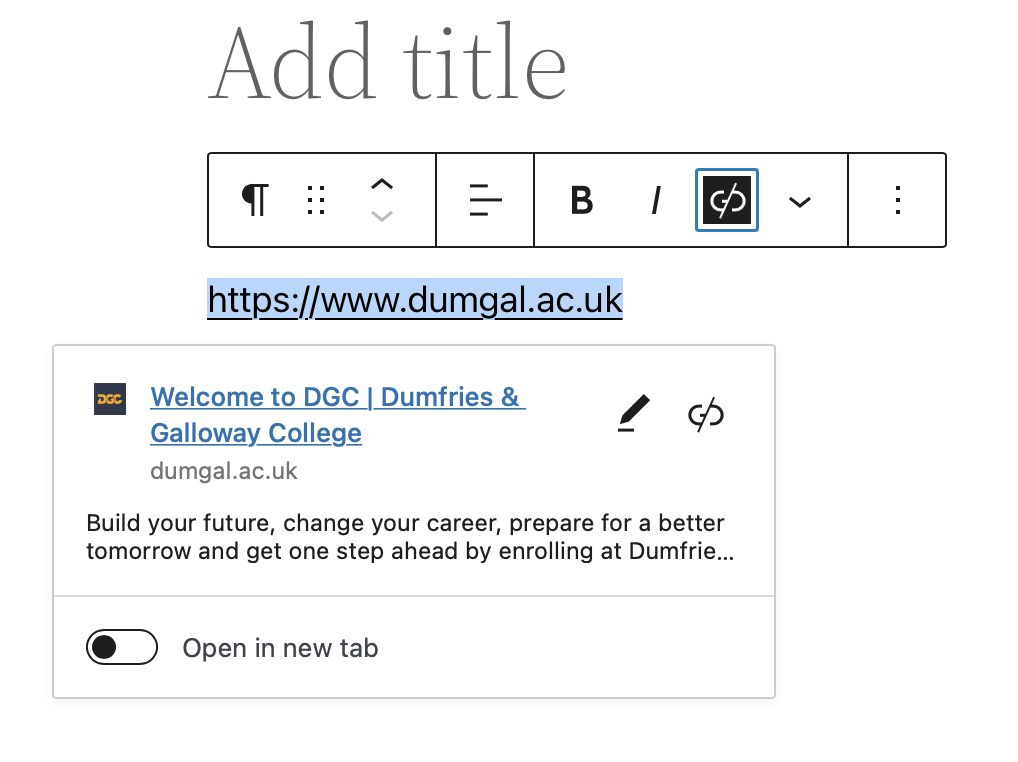
Adding a Link
Adding a link in the block editor is really simple. Just select the text you want to convert into a link and click the icon that looks like a chain link (“add link”). You will see a field where you can paste in your copied link then click the link to apply it.
To change the link to open in a new tab toggle “Open in new tab”
To edit the settings, click once on the link then click the pencil “Edit” icon to change the link url or edit its settings.
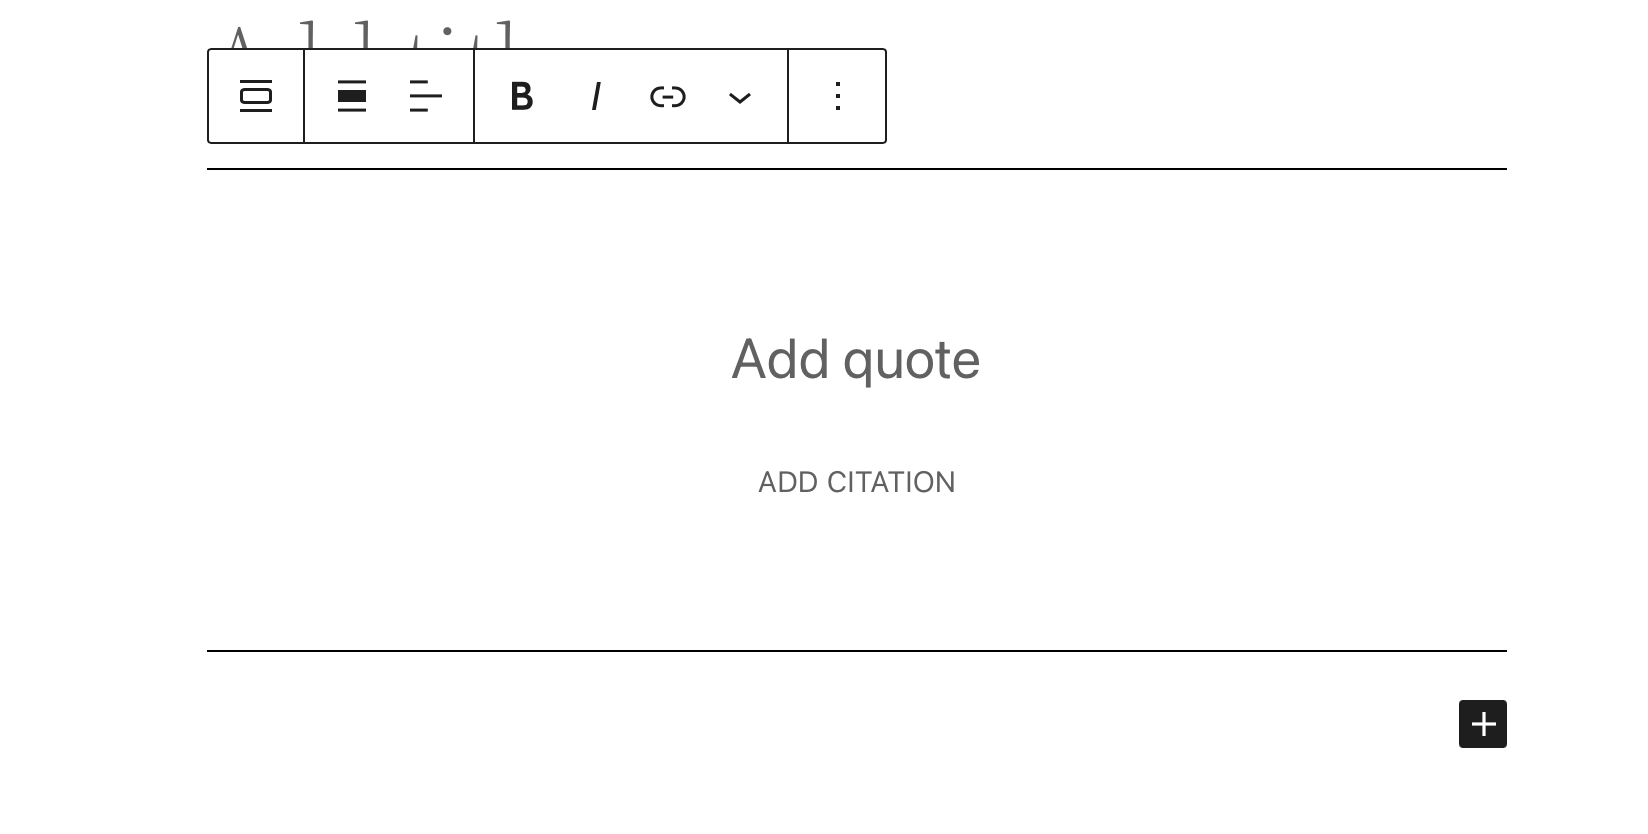
Adding a Quotation
There are a number of different quotation blocks you can use in the block editor. Just search for “Quote” and have a play with the settings on each (Pullquote is probably the simplest of all of them). All three options have a field for adding the citations below the quote.
A Note about Accessibility
It is good practise to make your content accessible for users with disabilities. This can include a wide range of disabilities including dyslexia, visual impairments, hearing difficulties and muscle weakness. There are some simple things you can do to make your content accessible. These include:
- Always adding alt tags to your images that describe your image
- Adding Captions to your images and videos
- Adding Transcripts to your Videos and audio files (YouTube can automatically transcribe your videos – although it can be worth going through and double checking them)
- Add titles to your links.
- Keep a good contrast between your text and your text background.
If you are interested in learning more about this visit:

When you leave college
When you leave College, you need not lose the work you have done on your ePortfolio. Ask your personal tutor to get an ‘export’ of your ePortfolio. You will need a USB key to take the information away with you. You can ask to be provided with zip files containing your work.
One of the zip files is your whole ePortfolio and any files you have uploaded as plain HTML pages which you can use from a CD / USB key or copy to a web host for a permanent record of your ePortfolio.
You can also use the HTML pages to copy and paste information into any other ePortfolio system you may use.

Additional WordPress Resources
We’ve included a few extra links below that you might find useful while managing your ePortfolio. If you require any further information or help, please get in touch with your tutor.