Printing with PaperCut Hive
PaperCut Hive is the College’s printing service. Follow the steps below to register your account, prepare your device and start printing.
If you’re using your own laptop, Chromebook, phone or tablet, we’ve also included instructions for printing from your own device.
Register.
Get set up.
Start printing.
1. Register with PaperCut Hive
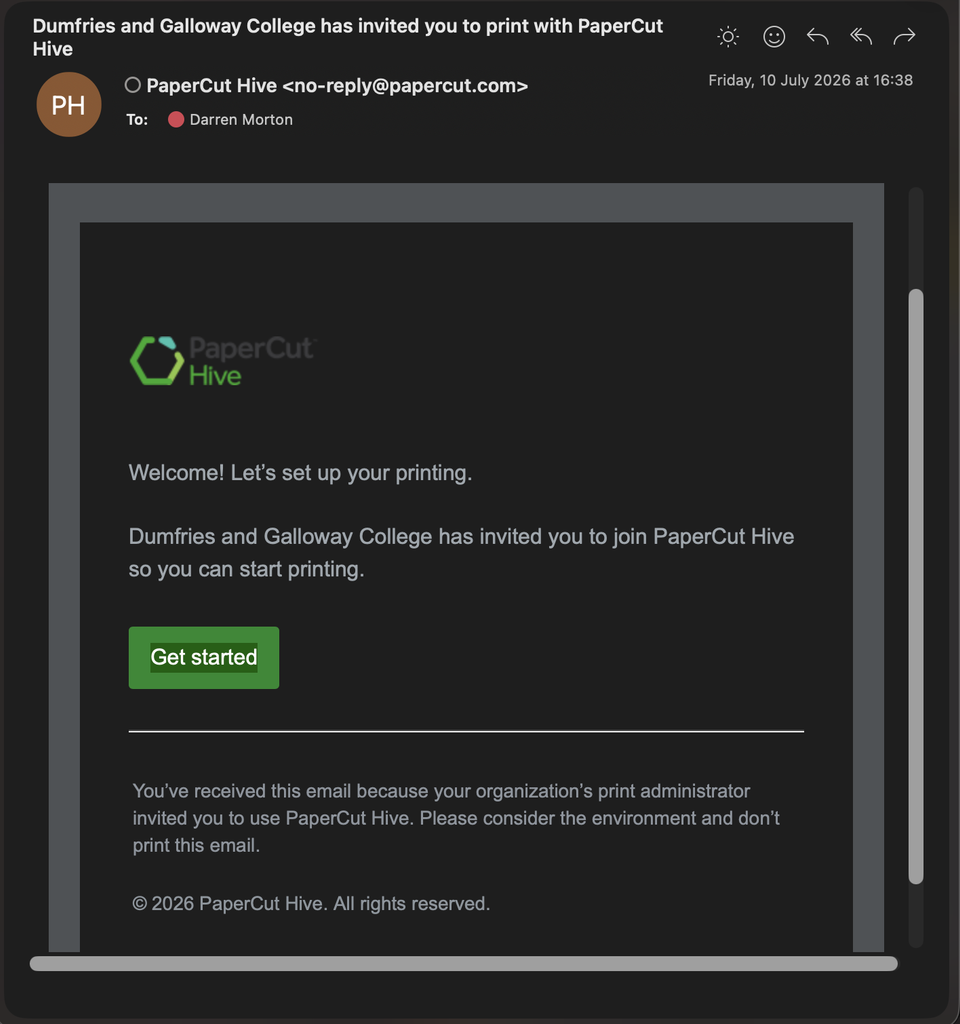
Before you can print, you need to activate your PaperCut Hive account using the invitation sent to your College email address.
What to do
- Open your College email.
- Look for an email from PaperCut Hive.
The subject will say
Dumfries and Galloway College has invited you to print with PaperCut Hive.
- Open the email and select Get started.
- Follow the on-screen instructions to activate your PaperCut Hive account.
Can’t find the email?
Check your Junk and Other folders before contacting Digital Services.
2. Get Ready to Print
Once your PaperCut Hive account is registered, your device needs to be prepared for printing.
Watch the short video to see how to set up your print account and get ready to use PaperCut Hive.
Complete this step before printing
PaperCut Printer may not appear until your account and device have been correctly configured.
3. Printing
Once your PaperCut Hive account is set up, you’re ready to print from a College device.
Watch the short video to see how to print from a College device using PaperCut Hive.
Printing from your own device?
If you’re using your own Windows laptop, Mac, Chromebook, iPhone, iPad or Android device, follow the device-specific instructions below.
Printing from Your Own Device
You can print from your own Windows laptop, Mac, Chromebook, iPhone, iPad or Android device using PaperCut Hive.
Choose your device below to jump straight to the instructions you need.
Windows
Once PaperCut Hive has been set up on your Windows device:
- Open the document you want to print.
- Select File → Print.
- Under Destination, select PaperCut Printer.
- Select Print.

macOS
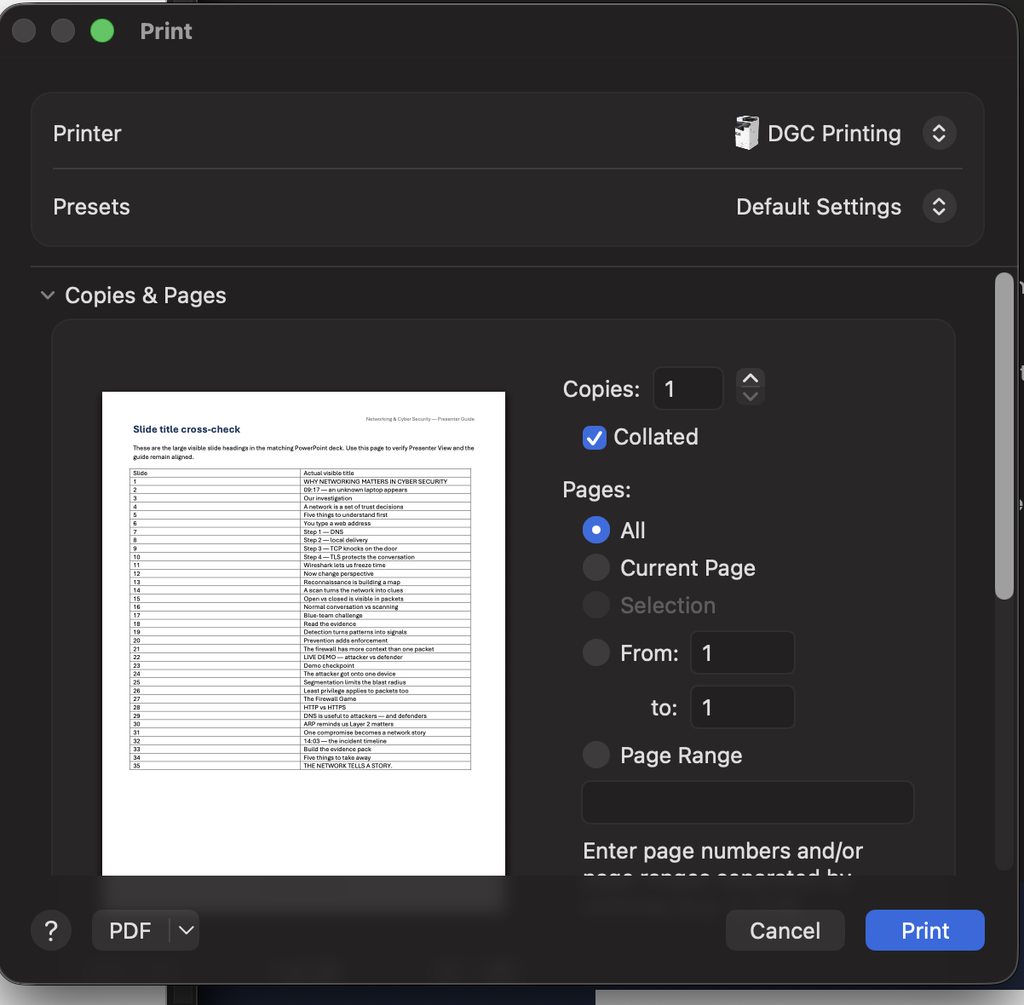
Once PaperCut Hive has been set up on your Mac:
- Open the document you want to print.
- Select File → Print.
- Under Destination, select PaperCut Printer.
- Select Print.
ChromeOS
To print from a Chromebook:
- Open the document you want to print in Chrome.
- Select the three-dot menu → Print.
- Under Destination, select PaperCut Printer.
If PaperCut Printer isn’t displayed, select See more
and look for it in the list of available printers.
- Select Print.
iPhone / iPad
First time only: Install the printing profile
- Open the PaperCut mobile app.
- Select the user icon in the top-right corner.
- From the bottom navigation drawer, select Install Profile.
- Follow the instructions on your iPhone or iPad to finish installing the profile.
Printing
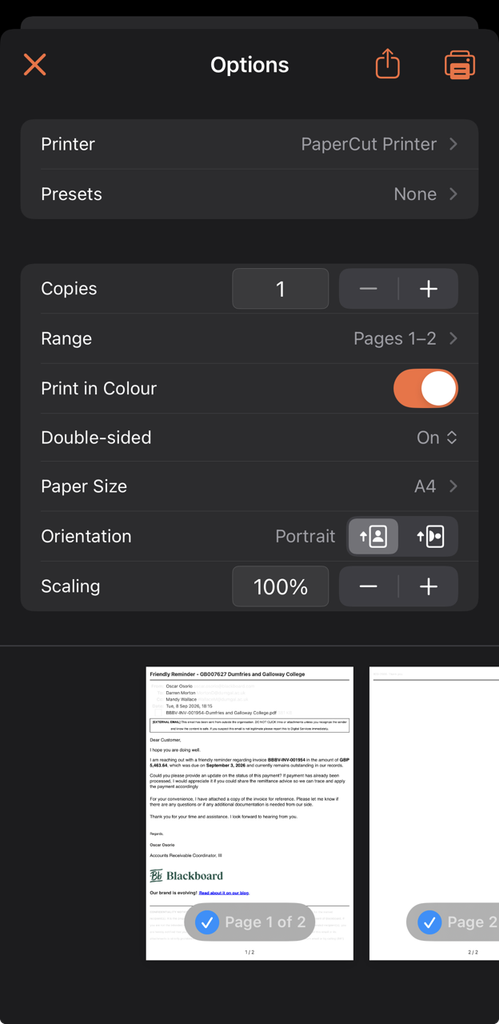
- Open the document, webpage or file you want to print.
- Open the sharing menu and select Print.
- Select PaperCut Printer.
- Select Print.
Android
To print from an Android phone or tablet:
- Open the document you want to print.
- Select the three-dot menu.
Select Share and Export. If you’re printing
directly from Chrome, select Share.
- Select Print.
- Under Destination, select PaperCut Printer.
- Select Print.
Release your document at the printer
Sending your document to PaperCut Printer does not immediately print it. Your document is held securely until you release it at a College printer.
Collecting your print
Follow the instructions at the College printer to securely release and collect your document.
You’re ready to print!
Once you have registered your PaperCut Hive account and prepared your device, you can use PaperCut Hive whenever you need to print at the College.
Need technical help?
If you’re having problems registering, setting up PaperCut Hive or printing, contact Digital Services at digitalservices@dumgal.ac.uk .
Registered ✓
Configured ✓
Ready to Print ✓